Homemade Butter

John here.
I'm going to come right out and say it: you never, ever need to make your own butter. This is the 21st century, after all. The butter you buy from the store is perfectly good for any purpose. Really, making homemade butter is unnecessary to the point of absurdity.
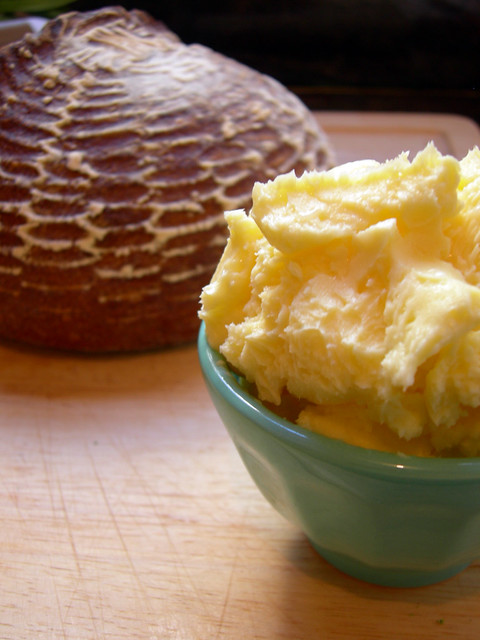
But, homemade butter tastes better, and is just really satisfying to make. Also, it's pretty easy.
Butter
Ingredients
- 2 cups heavy cream (Pasteurized or raw. Not "ultra-pasteurized.")
- Salt
Equipment
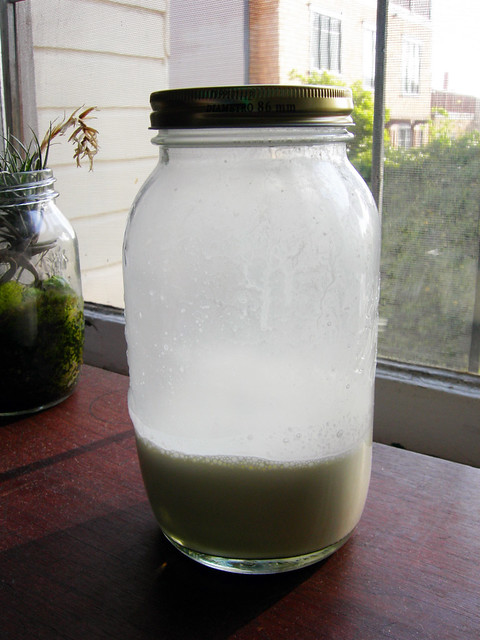
- 1 jar, with a secure, watertight lid. The jar should be several times larger than the total volume of cream that you're using.
The cream should be pasteurized or raw. Realistically, you're probably only going to be able to find pasteurized. This will work fine. What will not work, however, is "ultra-pasteurized" cream. Look at the container, and ensure that it is pasteurized, not ultra-pasteurized.
Pour the cream into the jar, and close the lid. Let it sit out, at room temperature, for about 8 hours, or overnight. This allows it to become slightly sour, which is important for the flavor of the butter. If it's very warm in your house (say, above 80 degrees), you should leave the cream out for less time, maybe 5 hours. It might take a few attempts before you figure out how long the cream needs to be left out to get the flavor you like. If the butter tastes flat and bland, it wasn't left out long enough. If it tastes cheesy, you left it out too long (unless you like cheesy butter).

This should give you an idea of how big the jar needs to be, in relation to the amount of cream you're using.
When you're ready to make the butter, make sure the lid is tightly secured. Begin shaking the jar vigorously. You want to use a very large jar, because the process goes much faster when the cream has plenty of room to slosh around.
This can get tiring, and takes some time. It helps a lot if you have a friend who can take over for a few minutes, while you take a break. When the cream turns to whipped cream, it moves around the jar much less easily, and this is the most tiring part.
But if you keep at it, the finished butter will very suddenly separate, and you'll have butter sitting in a thin, white liquid (buttermilk).
The buttermilk is extremely perishable, however, so you need to remove any pockets of it that might be trapped in the butter. Pour off the buttermilk into another container. Save it for another use (buttermilk biscuits, waffles, etc.), or discard it.
Pour some ice cold water into the jar, and pour it out. Repeat until the water runs clear.
Place the butter in a large bowl, in some very cold water, so it doesn't melt. Gently knead it for a few minutes. This squeezes out the remaining buttermilk. You may have to change the water, if it becomes cloudy.
Take the butter out of the water, and gently knead about a teaspoon of salt into it. This isn't just for flavor. Homemade butter should have some salt in it, as a preservative. Place the butter in an airtight container, and refrigerate.
I wouldn't waste homemade butter by cooking with it. It's best spread onto toast, on waffles or pancakes, or melted onto potatoes. Basically, use it as a condiment, not an ingredient, if you want to get the most out of it.

